IN DEPTH GUIDE: 3-in-1 Extra Large Box Braids for Your Quarantine Looks
Sit tight it looks like Ms. Rona will have her round two. We’ve put together some quick Quarantine Curl Care styles to get you through. From 1 style comes 3. Check out these quick and easy styles after your next wash day routine.

1 | X-Tra Large Box Braids - Rubberband Method
Box braids are an obvious go to for protective styling. This style is quick, easy and very versatile.
You will need the following items:
3-4 packs of pre-stretched braiding hair. We recommend Outre Braids X-Pression Kanekalon 3X Pre Stretched Braid 42".
Rat tail comb
JamEdge Control
Small black rubber bands
Banana hair clips
Latch hook crochet needle
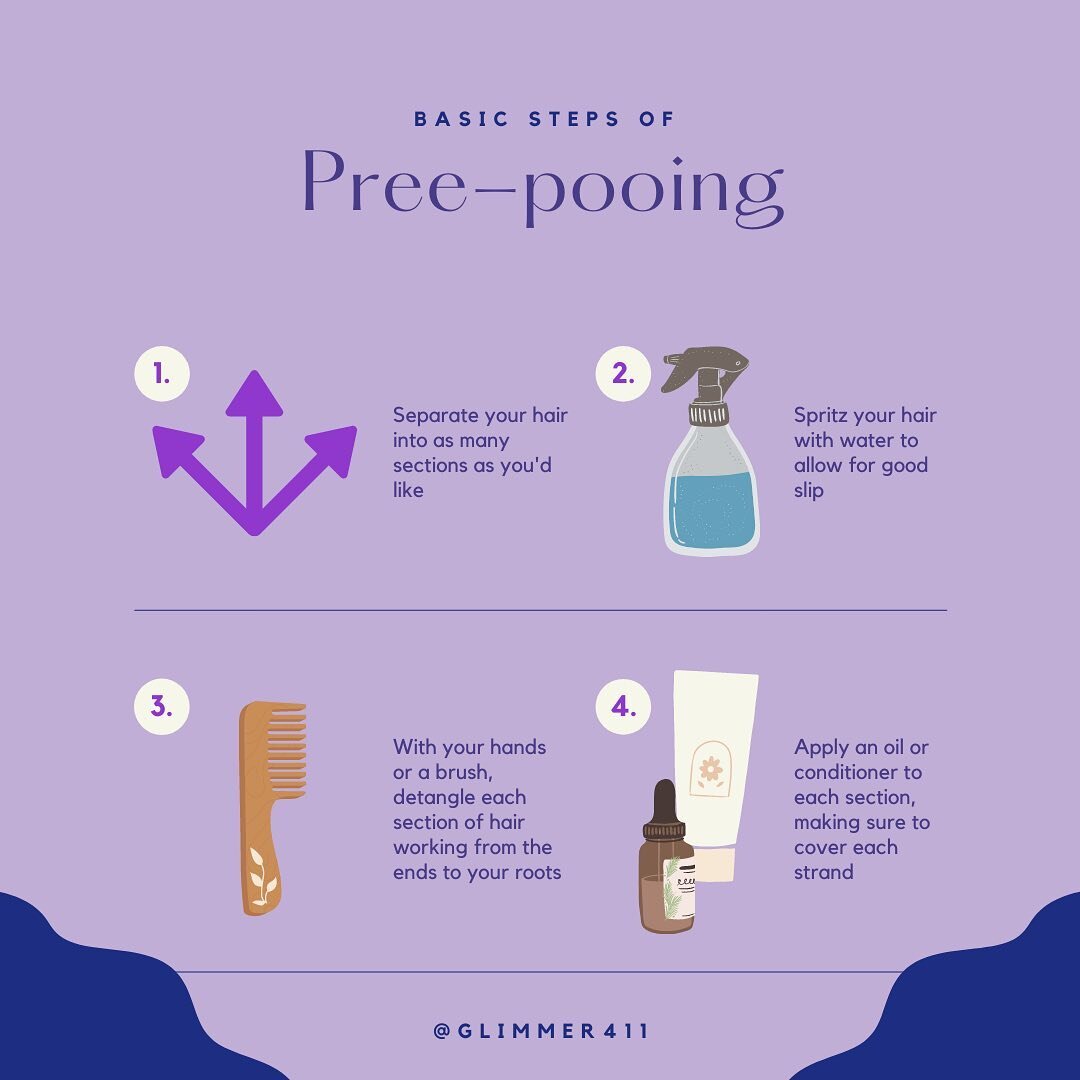
After completing your wash day routine, stretch your hair using your preferred method. We recommend the African hair threading method to get the maximum stretch without using heat.
Once your hair is stretched and moisturized, use your rat tail comb to begin parting your hair.
Divide your hair in half from ear to ear. Use the banana hair clubs to secure the front half of your hair.
Once the front portion is secure use the rat tail comb to part out the last row of your braids. We want our part to be about 1 inch x 1 inch so make sure that your part is no longer than an inch.
Secure the hair that isn’t a part of your last row with banana clips.
Part out 1 inch sections of hair on the last row of your braids individually.
For each 1 x 1 inch section you want to use a small amount of jam to smooth the hair down and secure it with a small black rubber band. For each of these sections leave about a ½ an in of space between your scalp and the rubber band. This reduces the tension on your hair.
Continue creating your 1 in x 1 in sections and securing them with rubber bands. The easiest method to go about this is parting out rows and dividing those rows into one inch sections until you reach the top.
For the front row of braids use edge control along with the jam to smooth down your edges into your sectioned piece. Do not put too much tension on your edges, they are fragile and will rip out easily given a lot of stress on the follicles. In the end you should have at least 30 1 in x 1 in sections.
After you’re done parting your hair, it’s time to begin braiding. Though the rubber band method is very beginner friendly, we recommend learning how to plait hair down before attempting this style.
Prepare the hair that you will need to braid. Separate out sizable pieces of hair for your braids. To figure out what size is right for you, take the time out to test differently sized pieces and the thickness of the braid they yield. Once you’ve figured out how much hair you will use for each braid, prepare as many pieces as you will need for all the 1 in x 1 in sections that you have.
Once you have all your pieces of hair ready it is time to begin braigin. Use your latch hook to insert the piece of braiding hair into the section of hair that you will be braiding.
Plait the braid down keeping in mind to incorporate your tresses with the extension as smoothly as possible.
Plait down to the end of the braid to reduce the chance of your braid unraveling before you dip them in hot water.
Repeat steps 2-3 for each remaining section of hair.
When you are done with all your braids, boil enough water to dip your ends in. Once the water is at a rolling boil dip the ends of your braids in it very carefully. We recommend having someone help you with this step to ensure that you don't burn yourself.
When dipping your ends in hot water you want to make sure that you don't ring the hair out with whatever cloth you're using. To achieve the best look take the hair straight out of the water and let the water fall down off the braid. Gently pat the hair dry but do not scrunch it up.
Allow some time for your braids to dry. Do not put your hair in a ponytail or bun as it will dry and leave unwanted curls to your braids.

2 | X-Tra Large Box Braid Bantu Knots
Try as hard as we might, we all know box braids don’t last forever. When your X-Tra Large Box Braids using the Rubberband Method start looking worn out don’t worry! You can spice your look up by turning those braids into bantu knots.
This look is great for adding an edge to any out while transforming your braids for a new look. ⠀
Use 2-3 of your braids to create each Bantu knot. This really depends on your size preference.
Wrap the braid around itself until you can tightly secure the end of the braids to the base of the Bantu knot. If you wrap it tightly enough, you will not need anything to secure the knot. If you want that added layer of security, you can use a rubber band or hair tie to secure the knot.
Repeat steps 1 and 2 until all your braids are in Bantu knots.
Use edge control to smooth out your edges are to add some flare
3 | X-Tra Large Goddess Braids
If you’re not a fan of the Bantu knot look, or once you are tired of it, your X-Tra Large Box Braids using the Rubberband Method can be easily transformed into X-Tra Large Goddess Braids. This look is for anyone who likes a messy, boho vibe.
You’ll need a pack or 2 of your favorite curly extensions to add in to your box braids. We recommend getting wavy human hair to avoid future tangling, but a good alternative is the FreeTress Synthetic Hair Crochet Braids Deep Twist 22" (see below to purchase).
Before you begin crocheting your curly pieces into your braids, revive the ends by dipping them in hot water again. boil enough water to dip your ends in. Once the water is at a rolling boil dip the ends of your braids in it very carefully. We recommend having someone help you with this step to ensure that you don't burn yourself.
When dipping your ends in hot water you want to make sure that you don't ring the hair out with whatever cloth you're using. To achieve the best look take the hair straight out of the water and let the water fall down off the braid. Gently pat the hair dry but do not scrunch it up.
Once your braids are no longer damp, use your latch hook to pull small pieces of your curly hair extension into different parts of your braids. Pull a look of hair through your braid and use the slip not method to secure it.
Continue lacing your curly pieces strategically until you’ve achieved that look that you want.
This style is great for stretching out the longevity of your braids. Enjoy the carefree look of these X-Tra Large Goddess Braids until it's time for another wash day!
Remember to moisturize your scalp and make sure that you wrap your hair to avoid breakage and dryness.
This Week’s Featured Product

FreeTress Synthetic Hair Braids Deep Twist Bulk 22"
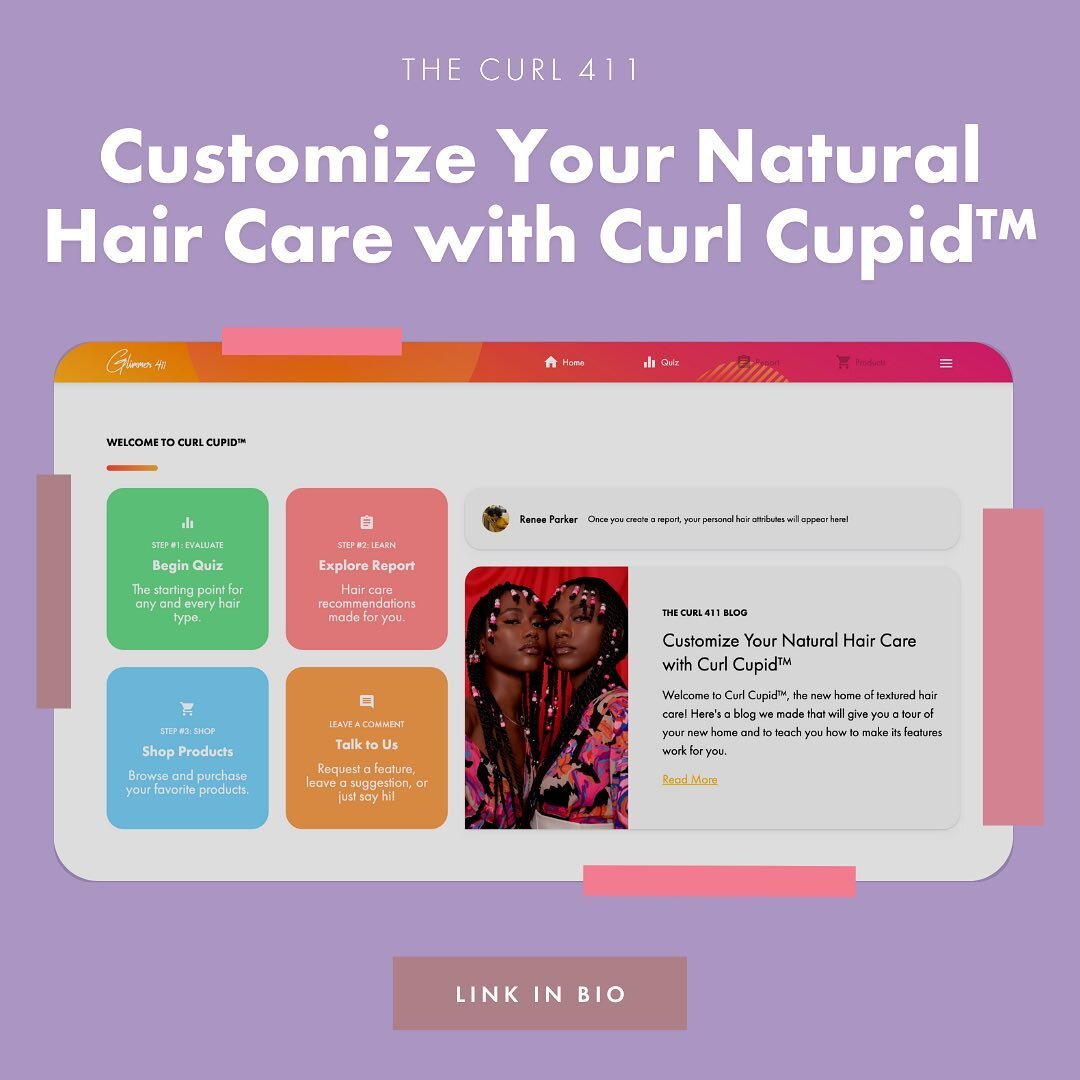
Curl Cupid™ Hair Quiz
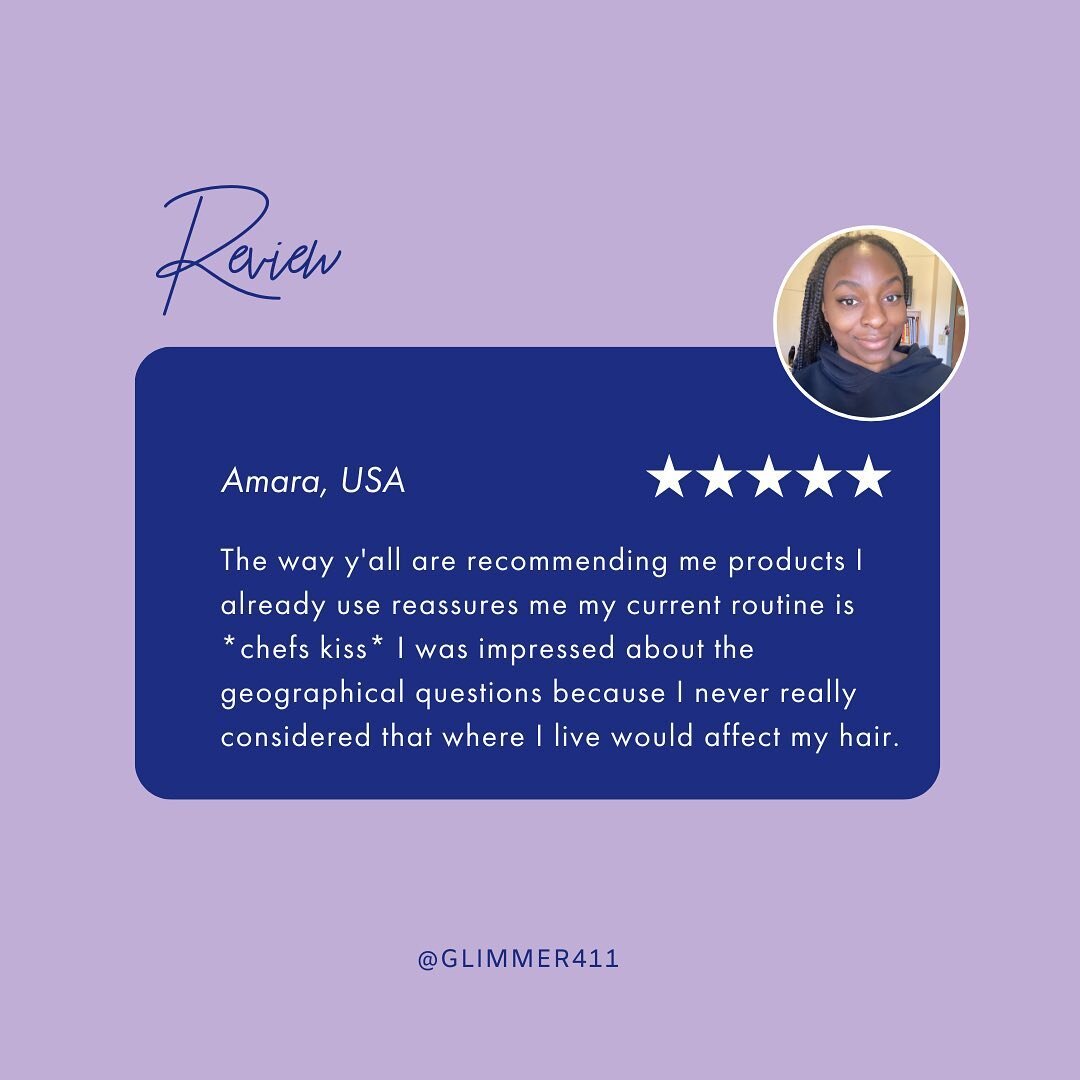
The Glimmer 411 team created the Curl Cupid™ Hair Quiz to make curly and coily hair care simpler for people like you.
Take the Hair Quiz today to receive a custom hair report with in-depth details on how to take better care of your curls!


![At Glimmer 411, our values are the heart of everything we do. Because YOU [our customers] are the top priority, we want to share them with you!
First up is ✨ INTEGRITY ✨ Swipe to find out more on how we plan to act on this value ➡️
—⠀
#G41](https://images.squarespace-cdn.com/content/v1/5c716cc590f9045c858a9fa6/1615484483997-5XKMEBQLCF4Q3TKP7KFI/image-asset.jpeg)